You are so extra... 3 cards session!
Hello, everyone! Welcome to the Picket Fence Studios´ blog! It´s Silvana here and today I bring you a fun, mixed media style 3x1 session of cardmaking. I love when I can make multiple cards in one session and also gives me the opportunity to play with a lot of products.

First of all I want to say there´s a reel on my Instagram where you can see the process that I´m going to explain, if you are a more visual learner.
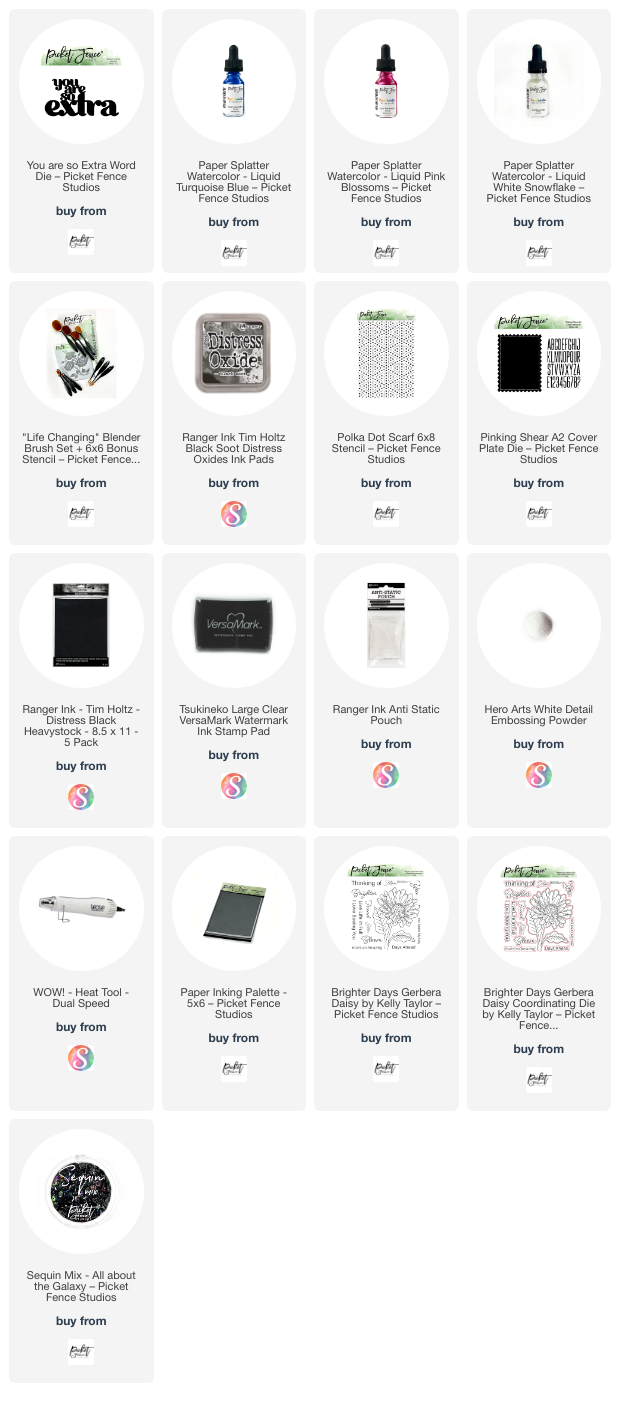
Let´s start for the background. I used two A2 pieces of watercolor paper. Over the paper I put two colors of Paper Splatter Watercolor: Liquid Turquoise Blue and Liquid Pink Blossoms. I used a plastic bag to make the look: tied a knot on the end of the bag, put the knot in the inside, put some air on the bag, like a balloon, and tie the other end. Put some Paper splatter over a surface, tap the the part with the first knot, which is wrinkled and you will get those marks over the paper with the paper splatter. Repeat over the two pieces, and change colors.

When the pieces were dried, I used one of them and put some little details with the Polka Dot Scarf 6x8 Stencil with some black ink. After that, I looked for a piece of black cardstock and gave it some shine with the Paper Splatter: Liquid white Snowflake applied with a brayer. After that I cut it with the extra alphabet die in the new Pinking Shear A2 Cover Plate Die . I chose some letters and glued them over the background. I cut the background with the shadow die of the You are so extra word die. I cut that piece with the inner part of the die, the actual phrase "you are so extra". I made the same process with a piece of black cardstock: I cut the two pieces together, centered so I obtained the phrase and the thin extra shadow. I also cut an extra piece of black cardstock with the shadow die.

Now I started to assemble the first two cards. I glued the background onto an A2 card base, then, in the shadow´s "hollow" I glued the thin black shadow, and then the word made with the background.

For the second card, I glued the thin shadow piece left from the background over the extra piece made withbthe black cardstock. Then I glued the word with black cardstock in place. I put some foam tape under the word and tape it onto an A2 card base.
I added a word and some sequins from the All about the galaxy Sequin mix.

The bonus card was made with all the leftovers: I glued the second piece of paper with the Paper Splatters on a card base and then glued the alphabet piece made with the black cardstock and white paper splatter. I put the letters in their places and chose two numbers to make a 23th birthday card. Simple but with a lot of color, contrast and shine.

I hope you enjoyed (and understood!) the process and the result!
Thanks for stopping by today.
See you on my next blog post. Have a fantastic week.
Silvana


