Seamless Designs Stamps
Hey cardmaking friends welcome back. It's Sandi MacIver here and today I'm playing with Picket Fence Studios Seamless Designs Stamps.
Yesterday I pulled out some Seamless stamps and had a good look at them. I'm totally amazed at how versatile they are.
I kind of hate when I spend money on a stamp set that I only use once, don't you?
Not so with these little guys and let me take a few minutes to explain why.
Today I'm going to share a couple of cards I created with these Seamless Designs Stamps. At the same time, tell you why I like them so much.
Size of the Picket Fence Studios Seamless Designs Stamps:
Don't be fooled by the size of these little guys. They may be small at just over 3.5" square - but they are mighty.
As they are small, they also come in at a nice low price point. For a small investment, you get a HUGE return.
Yesterday I created two A2 sized cards with two of these stamps:
First way I like to use the Seamless Designs Collection:
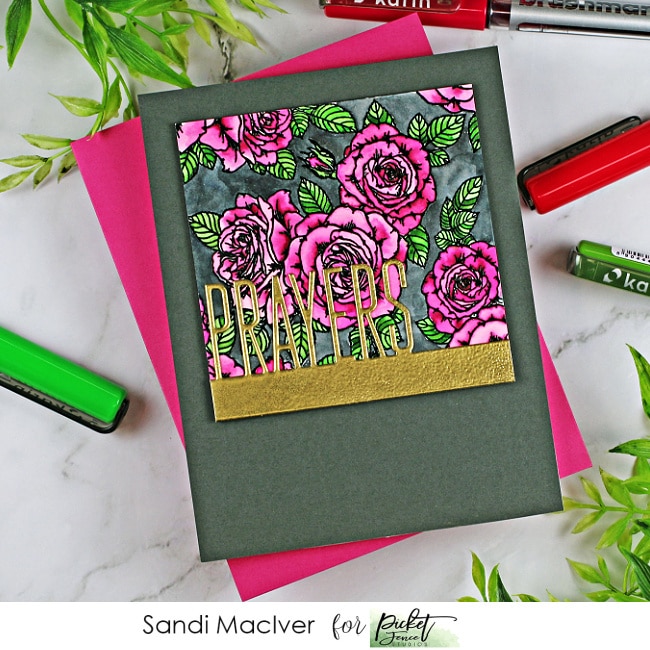
The first is this absolutely stunning Roses for All Seasons stamp and I created a simple A2 sized card with a small art piece on the front.
I used a Misti to stamp the image in black and then heat embossed it in clear onto watercolor paper.
Next, I colored it with my Karin watercolor pens.
Unfortunately, we require a few sympathy cards so I used the Prayers Word Topper Die on this one.
TIP - I could also change out the card front to the bright pink envelope color, change the sentiment die to Happy Birthday and completely change the feel of this card.

Creating the Sentiment:
Normally I would cut these word topper dies 3 or 4 times and stack them before adding them to my cards.
Today, I cut one from a scrap of brown I had in my scrap bin, and gold heat embossed two layers onto it.
The gold embossing really builds up and I have this beautiful sturdy sentiment which I glued across the bottom front of my art piece.
Understated, but adds the perfect amount of bling.

My Second Card in the A2 Size:
My second card is created the same as the first, just with a different stamp.
This one is new out in August called A Medley of Fall Collage.
The image is stamped once and colored with Karin Markers.
The Happy Fall Y'all Sentiment was created in the same manner as above.

So, why are these called Seamless Designs Stamps?
Because you can use your Misti or other stamping tool, and you can repeat stamp these little guys to create a larger stamped surface.
Their edge illustration is created to line up with the illustration on the opposite side for "seamless continuous stamping". (cool or what).
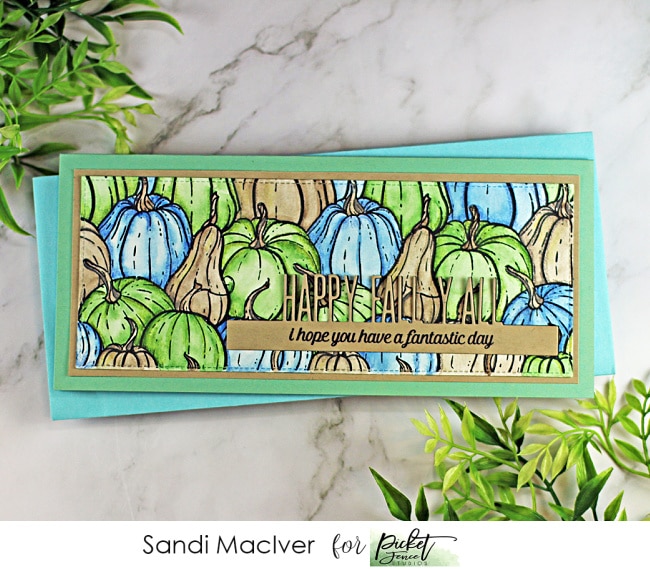
The Second Way I used the Seamless Designs Stamps:
This Slimline Pumpkin card shows how I lined up the All the Gourds Seamless Stamp and stamped horizontally across the card stock three times to create my Slimline Card front.

Here's another example using the More Hot Chicks Seamless Stamp.
Again, stamped three times horizontally, colored and made into a slimline card with the PFS slimline dies. There is a video for this card here.
You can stamp Seamless the other way too:
Not only do these stamps line up horizontally, but the illustration also lines up vertically.

The Third Way I like to use the Seamless Designs Stamps:
In the card sample above, I used my Misti to stamp the image three times vertically to create an understated background for my card.
Lining up the stamp to continue the repeat is very easy, as there are little pieces of the image you use to overlap for the continuous stamped image.
You can get the details for this card here:

Here is another vertical stamped example where I used the creepy Marching Spiders Seamless Designs Stamp to create the background for my Halloween card. Card Details here:
The Fourth Way I like to use the Seamless Designs Stamp:
You can stamp it twice horizontally, then move up and stamp twice vertically to create an entire A2 sized card front.
TIP - you can also stamp vertically twice to create a background for a Mini Slimline Card, and I'll do one of those shortly as well.
Where to get Seamless Designs Stamps.
Picket Fence Studios introduced these these to me and you can see their collection here.
Storing the Seamless Designs Collection Stamps:
As I said in the beginning, these little guys are small. So, they take up a very little bit of space, unlike some of the HUGE slimline stamps I have purchased recently.
Don't get me wrong, I LOVE my slimline stamps and dies LOL, I just had to adjust my storage to compensate the tall storage.

I subscribe to the Jennifer McGuire storage system of Fridge Bins (I order mine from Amazon), and these little guys fit perfectly in the 6" x 10" bins
Thanks so much for stopping in and I hope you enjoyed today's cards. Give a Seamless Designs Stamp a try and then come on over to the Picket Fence Studios Facebook Group and share it with us.

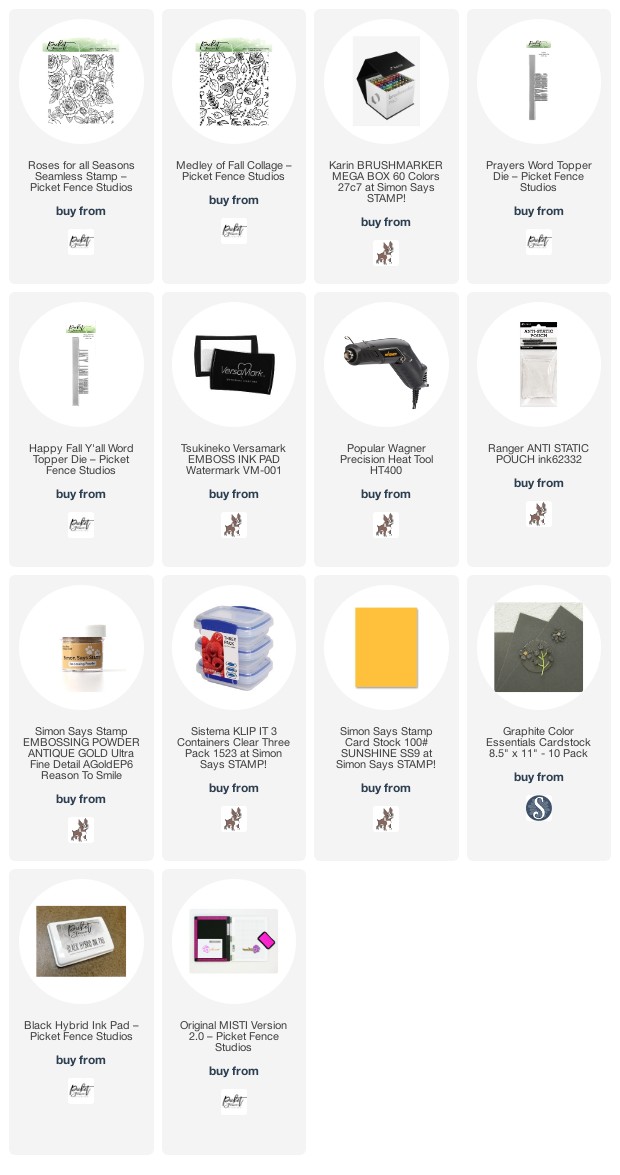
Here are the products I used today. Compensated affiliate links used where available at no cost to you.
When you click on a thumbnail link and shop you are supporting my website allowing me to continue bringing you new projects and videos. Thank you.