


Wild Peonies with Karen Reategui
Hello crafty friends! Today I'm sharing this floral slimline card using Aurora Borealis stamp, Wild Peonis stamp set and the new Thank You word die from the February release. I heat embossed this image and added color using Copic markers.

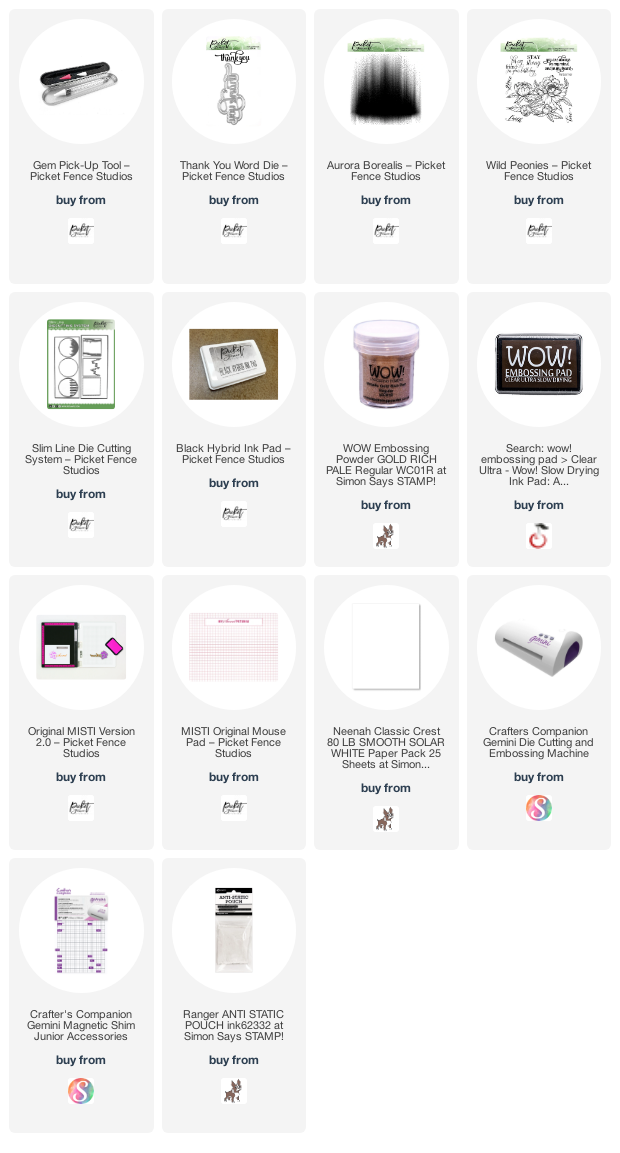
Let's start! Using the Slimline Die Cutting System I die cut a layering base from white cardstock and heat embossed on top the Aurora Borealis stamp using WOW! Metallic Gold Embossing Powder. Next, I adhered a white folded slimline card at the back with glue.

On a piece of Neenah Classic Crest Solar White 80 lbs. I stamped the Wild Peonies stamp using Black Hybrid ink from Picket Fence Studios and I colored it using Copic markers. I recently damaged two Copic markers while coloring on top of a heat embossed image so from now on I decided to first stamp my image using a Copic friendly ink and then after I finished coloring I can heat emboss.

To be able to first stamp the image with ink and then stamp it again in the same place to heat emboss after you finish coloring you will need a MISTI, so don't remove your stamp from the MISTI door. So once I finished coloring I placed my piece of cardstock inside the MISTI again and inked up my image with WOW! Embossing Pad and then I heat embossed it with WOW! Metallic Gold Embossing Powder.

I fussy cut this image and added it to my background using foam tape for more dimension, then I trimmed down the parts hanging out of the edges. Additionally, I die cut 5 times the Thank You word die out of white cardstock and once from gold mirror specialty paper. I glued them all with the gold die cut on top and added it to my background next to the flowers.

As a final touch I added these new Gem Mixes coming soon to the Picket Fence Studios shop. They matched perfectly the color combination from this card that I had to used them, but they will be part of the March release.
I really hope you like this card and give it a try, it's a very easy card and so elegant that I'm sure anyone would love to get it. Thank you so much for stopping by and see you next time.
Have a marvelous week.
Your friend, Karen
- ##cardmaking
- ##cardmakingideas
- ##Copiccoloring
- ##diecutting
- ##diycraft
- ##greetingcards
- ##handcrafted
- ##handmadecards
- ##handmadewithlove
- ##hechoamano
- ##karenreategui
- ##karten
- ##manualidades
- ##picketfencestudios
- ##slimlinediecuttingsystem
- ##tarjetas
- ##tarjetashechasamano
- ##tarjeteria
- ##thankyoucard
- ##wowembossingpowder
- ##_littleblessings_
Share
Wow! I saw this on IG and it is so beautiful!! Stunning work Karen!!